

Το καλάθι είναι άδειο
Προσοχή!
Cookies are used on this site to provide the best user experience. If you continue, we assume that you agree to receive cookies from this site.
Main menu
Eagle A3 Pro 6 Axis Airplane Gyro w/ One-Click Auto-Recovery System
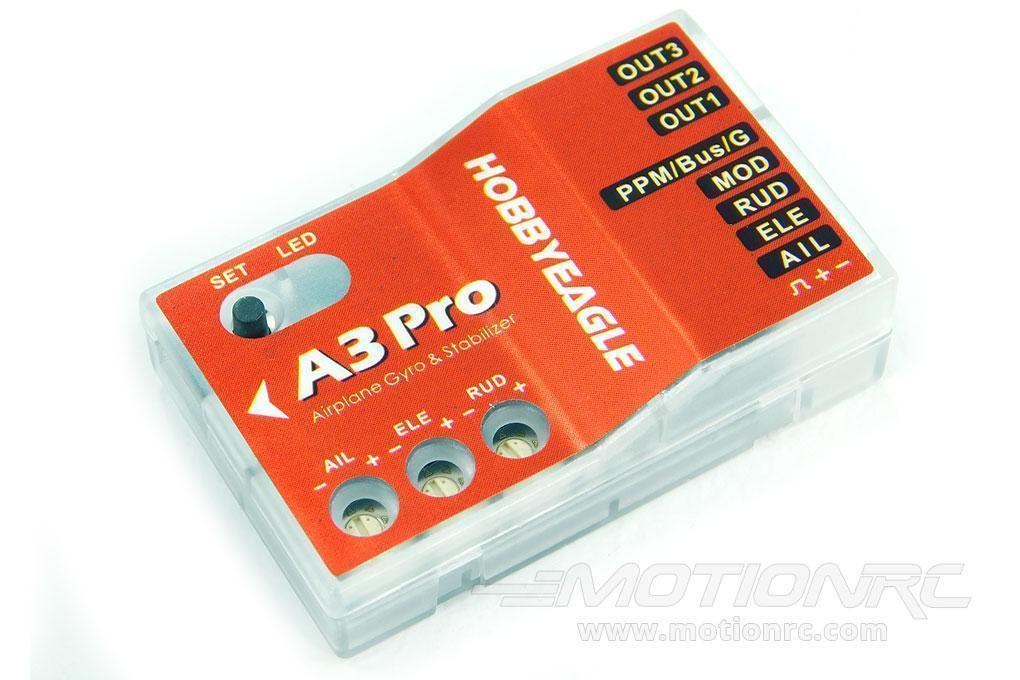
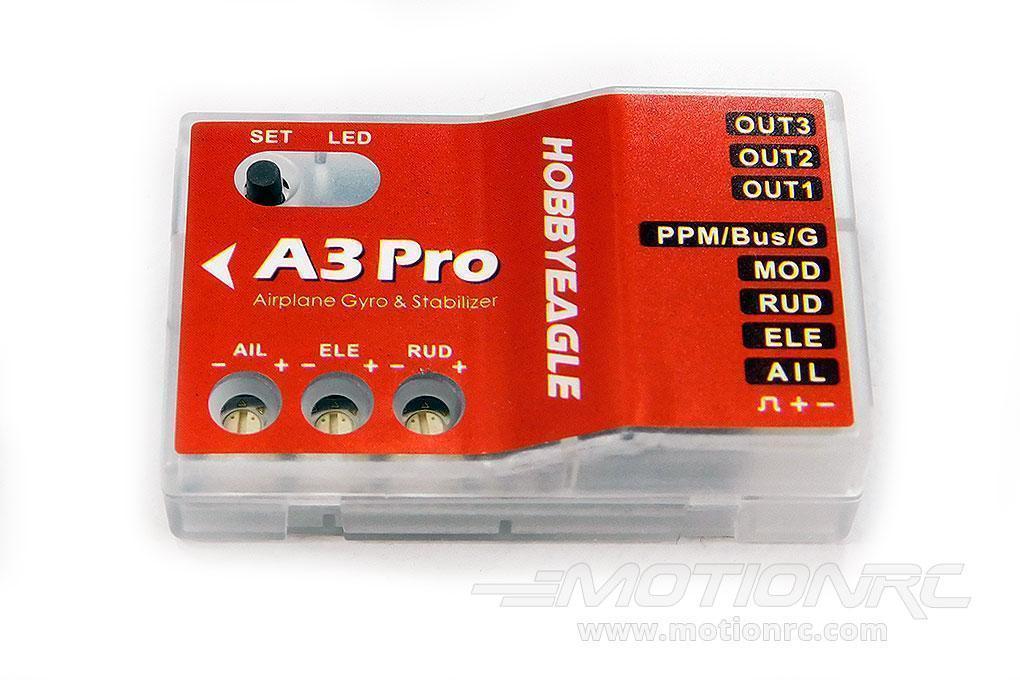


Hobby Eagle A3 Pro Standard Edition 6-Axis Airplane Gyro - HEA3PRO
The new A3 Pro is a high-performance and functional 6-axis gyro and stabilizer designed for R/C airplanes. This gyro can be used with nearly any size and type of R/C airplanes and its primary function is to make flying as easy and as comfortable as possible for the pilot by using stabilization technology that keeps your model flying as it works to counter the effects of variable wind/weather by making slight adjustments to the control surfaces.
Why use an airplane gyro? - Gyros (also called flight stabilizers) help keep your airplane stable during take-off, flight maneuvers, and landings which can be helpful during windy days or when learning how to fly RC planes. Gyros also help you master aerobatic maneuvers like knife edges and hovering as the system can "lock" in a planes position / trajectory. Once thought to be for beginners only, Gyros are now common in all classes of aircraft and are utilized by all levels of flyers. Gyros are great for learning, they let pilots practice advanced aerobatics, they give you piece of mind in less than ideal flight conditions.
Features:
- 32-bit MCU, High-Precision 6-axis MEMS sensor
- Improved hardware platform and new firmware
- 6 Pre-programmed flight modes:
- Gyro Off Mode - When this mode is selected, the gyro will be deactivated completely.
- Normal Mode (2D Mode) - This is the standard flight stabilization mode.
- Atti-Lock Mode (3D Mode) - The gyro will attempt to hold your last position by making constant corrections to rotational movements on each axis. An example would be holding a knife edge maneuver.
- Trainer Mode - In this mode you can only tilt the plane to a certain angle and rolls and loops are not allowed.
- Auto-Level Mode - The plane will be brought to normal, level flight automatically when releasing the sticks.
- Auto Hover Mode - Provides the same functionality as the Auto-Level mode, except when you release the sticks, the plane will be brought to the vertical position (nose up) and hold a hover.
- 3 Wing Types: (Standard, Delta, and V-Tail)
- Compatible with most standard, PPM single-line and Futaba's S.Bus and S.Bus 2 receivers
- Separate gain adjustment for aileron, elevator and rudder
- Remote master gain support
- Sub trim and travel limit support
Includes:
- Eagle A3 Pro 6-Axis airplane gyro
- 16V EZ-Plug capacitor to help maintain a secure voltage level during flight
- Two pieces of 3M Foam mounting tape
- Five 150mm (6") male-to-male servo wires to connect the A3 Pro to your receiver
Specifications:
- Main Controller: 32-bit MCU
- Sensor: High-precision 3-axis gyroscope and 3-axis accelerometer
- Gyroscope Scale Range: ±2000 dps
- Accelerometer Scale Range: ±4g
- PWM Output: 920uS ~ 2120uS with 1520uS center length / 50 ~ 333Hz
- Input Voltage: 4.8V ~ 8.4V
- Operating Temperature: -10 ℃ ~ 50 ℃
- Size: 43×27×14mm
- Weight: 10g (excluding wires)
Which Eagle Gyro is right for me?
| Sensor | 2D Mode | 3D Mode | Auto-Recovery | Auto-Hover | Remote Gain | S.Bus | HV | Upgradable | Price | |
| A3-L | 3-Axis | ✔ | ✔ | ✔ | ✔ | ✔ | $ | |||
| A3 Pro | 6-Axis | ✔ | ✔ | ✔ | ✔ | ✔ | ✔ | ✔ | $$ | |
| A3 Super 3 | 6-Axis | ✔ | ✔ | ✔ | ✔ | ✔ | ✔ | ✔ | ✔ | $$$ |
IMPORTANT - Please Read This Carefully
- Proper setup of the Hobby Eagle Gyro is crucial. Read the gyro instruction manual completely before attempting to fly your aircraft. Failure to follow setup instructions can result in loss of control and inevitable damage to your aircraft.
- Ensure the gyro is installed in the proper orientation (see manual) and is mounted to a hard surface near the aircraft's CG point.
- When you first plug in your aircraft battery DO NOT move your aircraft for at least 10 seconds to allow the gyro to perform self-calibration.
- It is crucial to verify that the gyro is moving the control surfaces in the correct direction BEFORE attempting to fly your aircraft. Failure to do so could result in loss of control during flight.
- Setup one of your gyro control switches (3 position switch on your radio) to activate Gyro Disable. This safety feature will allow you turn off the gyro if you encounter any issues during flight.
- ANY warranty claim for Hobby Eagle gyros applies to the gyro only, not the aircraft in which the gyro was installed.
Wiring Diagram

Function Menu
To access the Function Menu, press the button down and don't release it until LED lights solid White.


Setup Menu
The Setup Menu contains 7 setting functions which cover all parameters of the gyro you may need to setup. To access the Setup Menu, press the button down and don't release it until LED starts flashing White quickly.


Receiver Menu
The Receiver Menu allows you to change the receiver type and program the channel mappings for all input channels. To access the Receiver Menu, press and hold the button while turn on the receiver power supply, release it when LED lights solid Violet.


Box Contents
